Showing posts with label Craft Project. Show all posts

Sunday, February 17, 2013

The Best Valentine's Day Gift EVER!!

Last Sunday, I told you all about the $20 Valentine's Day Challenge that Kipper and I were doing in lieu of buying gifts this year. I am so happy we decided to do this, because I can't tell you how much I LOVED it! We have had some pretty awesome Valentine's Days, but this year takes the cake in the gifting department! 

As a refresher, here were the only rules:
  • Each person will create a handmade gift and card
  • We can only spend $20 total so that means only $10 each for supplies
  • Supplies in the craft room or garage are fair game

For my gift I decided to create a little glimpse into my heart! I wanted to do something to tell Kipper all the reasons I love him, but I decided to narrow it down to 147 (1 for every month we have been together) reasons! I loved making it, but I really loved watching Kipper read each and everyone one! And yes, I stayed under my budget spending only $6.00!

Here is the final product:


Now for Kipper's gift to me!!!  I can't tell you how much I LOVED my gift! And I loved how excited Kipper was to give it to me...he couldn't wait till Valentine's Day so I got it a little early! :) 

Thanks to our new found love of Big Bang Theory, Kipper has rekindled his love with comic books. So it was only fitting that my gift was a comic book!! He did a page for each year we have been together, highlighting events from that year and even came in it's own comic book sleeve to protect it!  And Kipper wins in the budget category spending $.10!

Here are the highlights of my very own comic book: 


Some of you my laugh at hearing how this was one of my favorite gifts that Kipper has ever given me, but it is the truth. All the thought and heart he put into this gift challenge filled me with more joy than anything he could have bought at a store. Now don't get me wrong...designer shoes and handbags go a long way in my book, but you get what I mean!

While we originally came up with this idea because money was a little tight and we didn't really "need" anything. But after doing this, even if money wasn't a factor in the equation, I would suggest this doing something like this to any of my friends!  Aside from just the gift giving aspect, it was an awesome way to connect with each other in a new way.

I would like to challenge each of you to come up with some similar "challenge" with your spouse or significant other.  You can wait till a major holiday or heck, set a timeline and do it just because!  If you both truly commit to it, you won't be sorry in the outcome! :) 

Sunday, February 10, 2013

$20 Valentine's Day Challenge

Only 4 days away from Kipper's FAVORITE holiday - Valentine's Day!!  Ha! In all honestly he strongly dislikes Valentine's Day and I get it.  It stresses him out and it doesn't make it any better that I LOVE Valentine's Day!! (I can't help it..I love love!)

But to his credit he always surprises me with something special. When he told me last year we weren't going to even do cards I really thought he was serious! You can imagine my surprise when I came home from work to find a wine and cheese tasting set up in our our dining room.


As always, he has been stressing over Valentine's Day so I came up with a fun idea! We have a lot going on so money is tight, and to be honest neither of us need anything!

The $20 Valentine's Day Challenge was born! 

Here are the rules:

  • Each person will create a handmade gift and card
  • We can only spend $20 total so that means only $10 each for supplies
  • Supplies in the craft room or garage are fair game
Sounds simple enough, right??? I am not going to lie, I am stressing a little now!  Kipper has his figured out and I am still working on it. But I can't wait until Thursday when we get to share our creations!!


Sunday, September 23, 2012

It's Fall Ya'll!!

School is back in full swing, football season (or as I like to call it tailgating season) is here, the temps are finally starting to drop and we are chomping at the bit to start wearing sweaters and boots...It's Fall Ya'll!!!

But in the Martin household, it isn't Fall until the Fall decorations are out!  Both Kipper and I love how the Fall decor makes the house feel extra cozy, but I also love the opportunity to get crafty!

Anyone who has ever purchased floral arrangements for their home knows that you can easily drop quite a bit of cash for the quality and look of arrangement you want. This was something I learned very quickly when Kipper and I got married. I had a vision of what I wanted but had very little budget to achieve it. That was when I started to teach myself how to create the arrangements I wanted and I am so glad I did. (Man Pinterest would have sure been helpful then!) I couldn't even begin to tell you how much money it has saved us over the years, without sacrificing on look. 

This year I decided I wanted create a new piece to go on top of our entertainment hutch so I headed to Hobby Lobby one Saturday that they had all their Fall decor and floral 40% off. After 45 minutes of shopping and $21 later I was ready to get started!


Here is everything I had to work with/used:

  • 2 berry branches that had wired, curly branch pieces on it
  • 4 velvet sunflowers
  • 1 Fall leaf vine
  • 2 small pumpkins
  • 2 large, glitter accented pumpkins 
  • A hand full of thin decorative, glittered branches in both gold and orange
  • Floral wire 
  • Hot glue (which I ended up not using)
  • Wire cutters
  • Scissors 


To start, I laid out the berry branches and unwrapped the 1 of the wired, curly branch pieces from each one and set those aside for later. 


Next I snipped about 2 1/2 - 3 inches off of each berry branch in order to achieve the right length once assembled for the length of the TV hutch. 


After that I used the the wired, curly branch pieces still attached to connect the two berry branches, creating the base for my arrangement.  


After getting the base assembled I clipped off 2 berry bunches from each end to use when I built the middle of the arrangement. On these particular branches every other set of berries had the mini bunches split into 2 so you could maximize the fullness, so cutting off  2 on each side didn't make it looked like their were big holes etc. 


I set the berry bunches to the side and started pulling the cluster of leaves off the fall leaf vine. Using the floral wire I started filling in around the berry bunches by attaching the leave clusters. In order to have a nice variation of color, I played around with different leaf clusters and locations before actually attaching them. 


After adding leaves onto both ends of the base, it was time to start adding some to the center section. Knowing that I would be adding the pumpkins, sunflowers and the berries and wired curly branch that I cut off earlier, I used the leafs to help shape the area so it would look full once everything in place. 


After playing around with the combination of placement options I decided on which I liked best and attached everything with floral wire. Because the pumpkins were on picks, I was able to forgo hot gluing them and just  just the floral wire. I prefer not to have to hot glue anything  because it makes it harder to change things out and update arrangements after a few years. So if you are creating something that you want to use for several years, try to forgo the hot glue (even though it is faster) because in the long run you will be able to get more life out of your arrangement!


Now that all the major assemble was done,  it was time to put the arrangement on the hutch for final touches!  

Once in place I took both the gold and orange thin, glittered decorative branches and inserted them in to add a little extra fullness and sparkle! This branches are so thin they don't always store well in between years and often break in storage. Because of that I don't even wire them in to arrangements. They are so cheap it is just easier to put new ones in each year! 


When it was all said and done, I was really excited with how it turned out! And the fact that is only cost me $21 and a few hours of time made me like it even better!  Hopefully this "how to" will inspire you to create your own fall floral creation! Just remember, if you are using the floral wire there is almost no part of an arrangement you can't "undo" or change so through caution to the wind and see what you can come up with! 


Now time to light some candles and curl up with a good book and my fur babies! I LOVE FALL!!!!

Friday, July 13, 2012

Hey Kids, Look At My Crayons

About a month or so ago we were cleaning out the art room at the office and realized something: we have WAY to many crayons!! We had so many new boxes that had never been opened we decided that we could part with some of the shoe boxes full of broken older crayons. As we started packing them up to donate to another organization that could use them, I decided to save a big old bag of them in case we ever wanted to do some melted crayon art.

Fast forward a few days and an hour or two on Pinterest later....I had a brilliant idea!! I was going to use some of those crayons to make some awesome shaped rainbow crayons for the kids to use at Camp CARE!

After a little research, I knew it would be best to use the oven but we didn't want to spend a bunch of money on shaped silicone bake ware just to melt some gross old crayons in it. Yet, I found several people who said they used ice trays in the microwave and it worked just as well. It was settled then - I would find some ice trays and we would just do it in the microwave.

To start we needed to get all the paper off of the crayons. Because they were older crayons the paper didn't just peel off as easily as I hoped. A little trick we figured out that worked really well was to use a knife or a something with a needle point to slide down the paper to cut it. Then it would just slide right off in one piece!

Once you get a good selection of crayons unwrapped, start breaking them into small pieces to fill the molds. We had a lot of fun playing with different color combinations from simple red, white and blue to a full on rainbow.


Once you get all your molds filled it is time to head to the microwave. It was suggested you melt in 4 or 5 minute increments, checking how they are progressing in between.  At first it looked like things were going really well then I opened the microwave door to this....


Apparently the glass in the microwave got too hot and melted a hole (actually 2 holes) in the bottom of the mold. This is really when I should have given up, but oh no - Allie had a BRILLIANT idea! Put a dish towel under the mold to help shield it from the direct heat of the glass.


A few moments later the smell of smoke confirmed, that I should NOT be allowed in a kitchen even if it is for crafting. Yep, I caught the dish towel on fire...in a microwave.


At that point I pretty much chalked all this up to a crafty fail and decided that I should call it a day. (Not sure how the board would respond to "I am sorry I burned the office down. But look at these re-purposed crayons we made!" )


Allie: 0 - Crayon Craft Project: 2 

But never fear my friends there will be a rematch! Stay tuned! :)

Wednesday, May 2, 2012

Moments Like These: Baby Brady - Part 2

Picking up were I left off in Part 1 of this project. Mr. Brady's debut was only a few weeks away and the piece I had been working on for his nursery was finally done!  I couldn't wait to see Jen and Bobby's faces when I gave it to them, but at the same time I was nervous.

As I said before this one didn't just come to me, I had to really wrap my head around it. But the hours I spent figuring it all out were so worth it when I saw everything come together!  It is something that I hope once Brady is too old for his nursery things to still hang on his wall, that Jen and Bobby can hang this in their home. Not only a something to remember the birth of their first child, but also so many things that lead to that point in their relationship. 


I planned on giving it to them a our friends Sean's birthday dinner, but I got tied up and wasn't able to make it.  I have to tell you the location of the presentation was a little out of the ordinary to say the least - in front of Showdown. (Actually when you think about all of us, it isn't really that shocking! lol!) 

When I handed it to them, Jen kept saying how much she loved it, but Bobby didn't say much. He just stood there for a moment and by the look on his face I knew - I got this one right!  I loved watching the two of them comb over the canvas.


Of course seeing it hanging in his nursery the night we got to meet little Brady for the first time was also very special. (The painting right above it what Bobby painted for Jen's birthday the first year the dated!) 


Then again, I am not sure anything could top the look on Bobby's face and the big hug that followed the night I gave it to them! 


Again congrats to Jen and Bobby and welcome to the world Baby Brady and!!! We can't wait to watch you grow up! 

Thursday, April 26, 2012

Moments Like These: Baby Brady - Part 1

I still remember the night we all started to "suspect"  Bobby and Jen might have some big news! We were all at Lisa Stanko's wedding! I don't remember exactly what it was about that night that made the thought even pop into my head, but it did. And apparently I wasn't alone in that thinking, but of course we never asked, just waited to see.

Fast forward a few months, it was the day after my 30th Birthday Party and we were supposed to attend Tiffany and Justin's annual Halloween Party with all of our friends. Kipper and I had spent all day Saturday at Cook Children's with Lala and her family. My heart was broken because while we still held on for a miracle, the facts of the situation had started to set in - Lauren was dying.

When we left the hospital to head home I was beside myself in grief. I remember Kipper asking me what I wanted for dinner and all I could say was that we had to go to the party. I didn't care that we would be the only ones not in a costume or that we looked down right exhausted. If we went home all I would do I cry and worry, we needed time with friends...after all that is totally what Lala would have done! (especially since Halloween was HER holiday!) 

Everyone there knew what was going on, some tried to avoid the topic, others wanted to know how they could help. Yet all of that aside, being with our friends is EXACTLY what we needed. The best part? Not only did they help keep our mind off the situation a little, we found out some FABULOUS news! Two, yes you read that right, TWO of our friends were expecting! Both Shannon and Jen were pregnant, only weeks apart!

The days following were a total blur. Lauren passed away on November 1st and I begin helping her family plan her Celebration of Life. (I have started a blog about saying goodbye, but almost 6 months later I still haven't been able to finish it...but I couldn't tell this story without parts of hers. One day soon I promise I will hit "publish" on that blog)  For her service I painted a canvas so that all of the guests could sign it and that the family would be able to have something more than just a book that gets tucked away on a shelf. Because Bobby is not only an awesome framer, but owns Suitable for Framing, I asked him if he would be willing to donate a frame for the canvas so we could give it to the family ready to go on the wall.

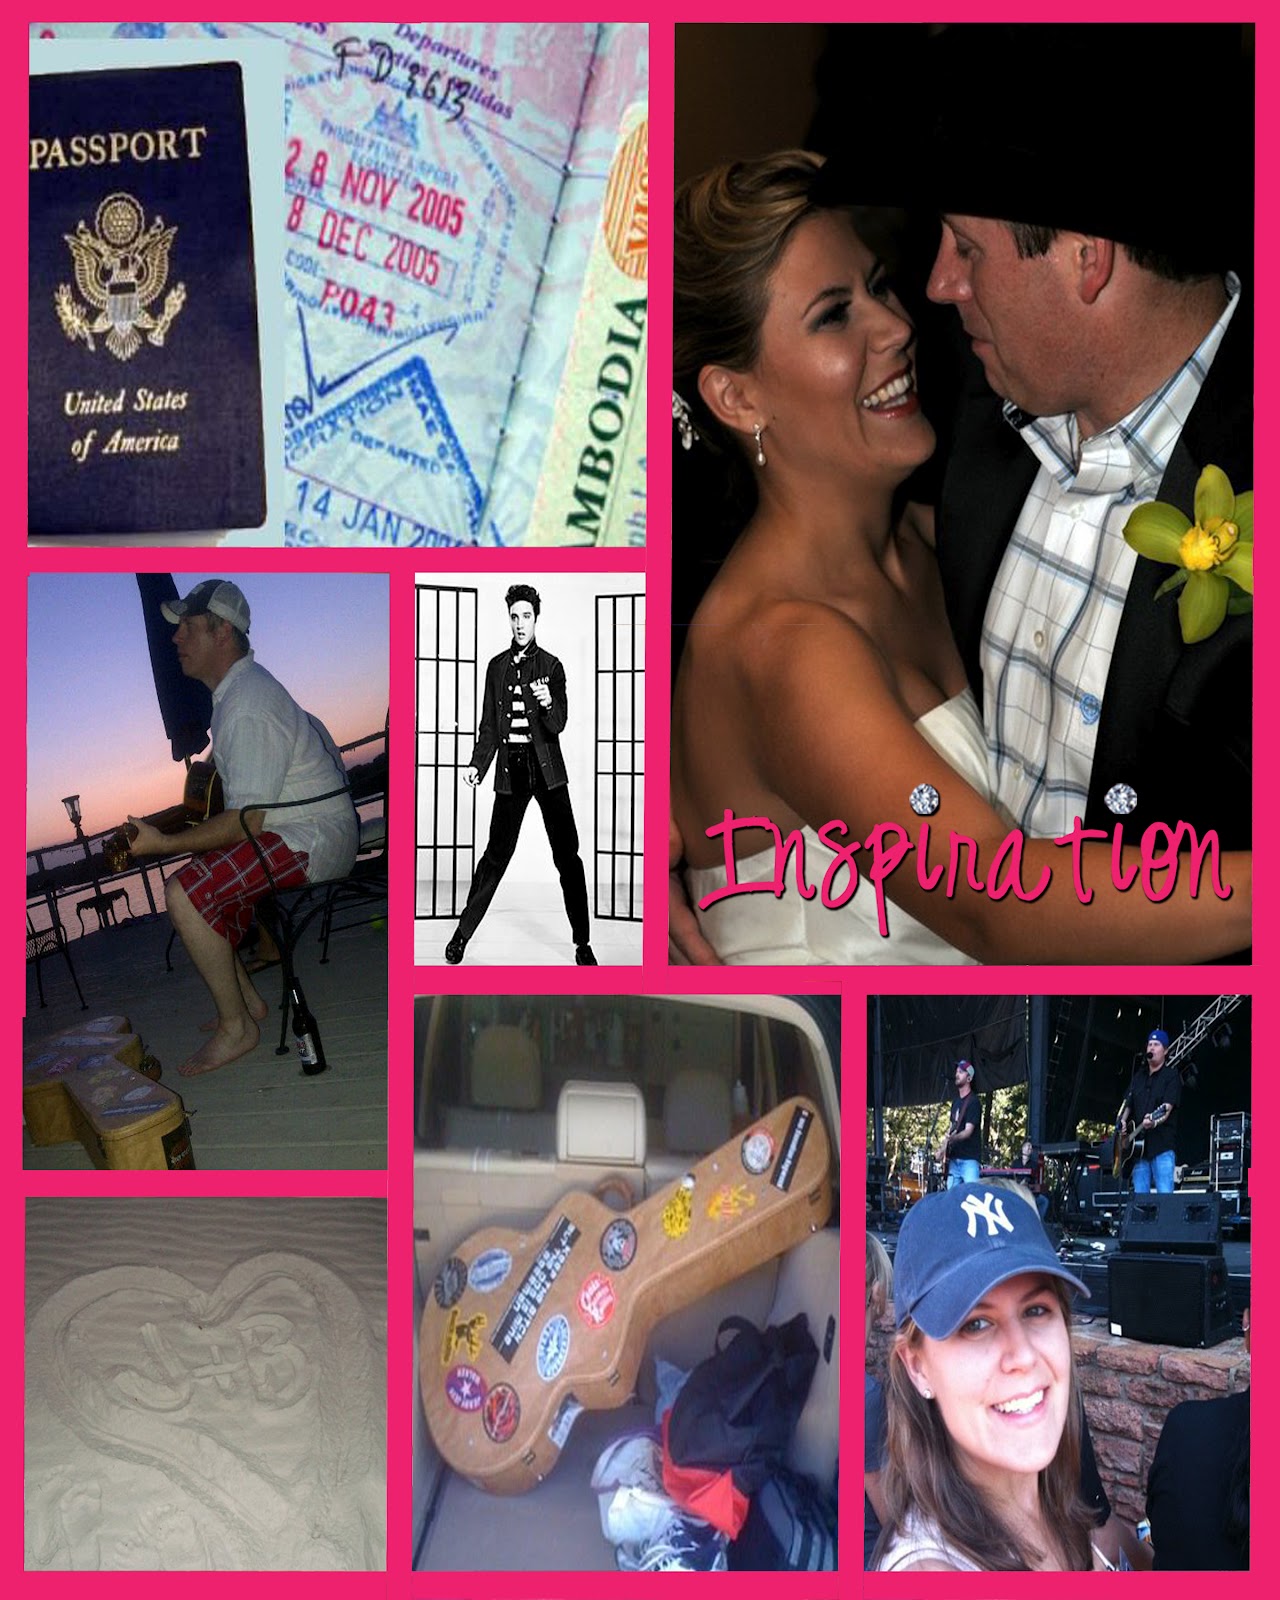
When I went to go pick up the finished canvas Bobby told me he had been thinking a lot about it and he really wanted me to create something for their little boys nursery as my baby gift. I was completely honored, yet a little sacred. I normally create VERY girly things...they were having a BOY! And to top it off the "theme" for the nursery was very unique - Texas Country meets traveling with a splash of Elvis on the side! :)  

I begin to rack my brains on the perfect piece I could create for them, making sure I included things that had a special significance to them. I drew inspiration for not only the room theme, but Jen and Bobby's relationship. From places they traveled/lived, things they had done together, and even the lyrics to the song they danced to at their wedding.

During all of this I was in the middle of Spring Show and just didn't have the time to dedicate to the project just yet. I promised Jen and Bobby that, while I wouldn't have the canvas finished before the baby shower, I would have it done in time for it to be framed and on the wall before Baby Brady made his world debut!

So with the canvas half finished we celebrated Baby Brady at one of the best baby showers I have ever been to. There were no crazy baby shower games or gabbing groups of girls overloading Jen with parenting advice. That night they were surrounded by  their family and dear friends and there was nothing but love and celebration all around them.


That night was exactly what I needed for my final bit of inspiration! To be continued.....


Sunday, March 25, 2012

Little Miss Aubrey

Blast from the Past Post!

Through JWC I have met most of my dearest friends. While we share both the joys and sorrows in our lives, it is always a blessing to get to be apart of celebrating the joyous times in their lives. 

When our sweet friend, Kristen, became engaged to Bridget's brother, Brandon, in the Fall of 2008 it was certainly cause for celebration!!  One that carried straight through from the engagement party, to showers, bachelor/bachelorette parties, right to the wedding. 


Just a year later there was news for celebration again - Kristen and Brandon were expecting!!! (which is code for Allie gets to be crafty!!) 


I got lucky, because Kristen sent me a picture of the nursery so I was really able to base my gift off of it!


I knew I wanted to do a picture frame, but I also decided to do a trinket box to match. (the words/designs in the picture frame are just for presentation...it is an actual picture frame!)


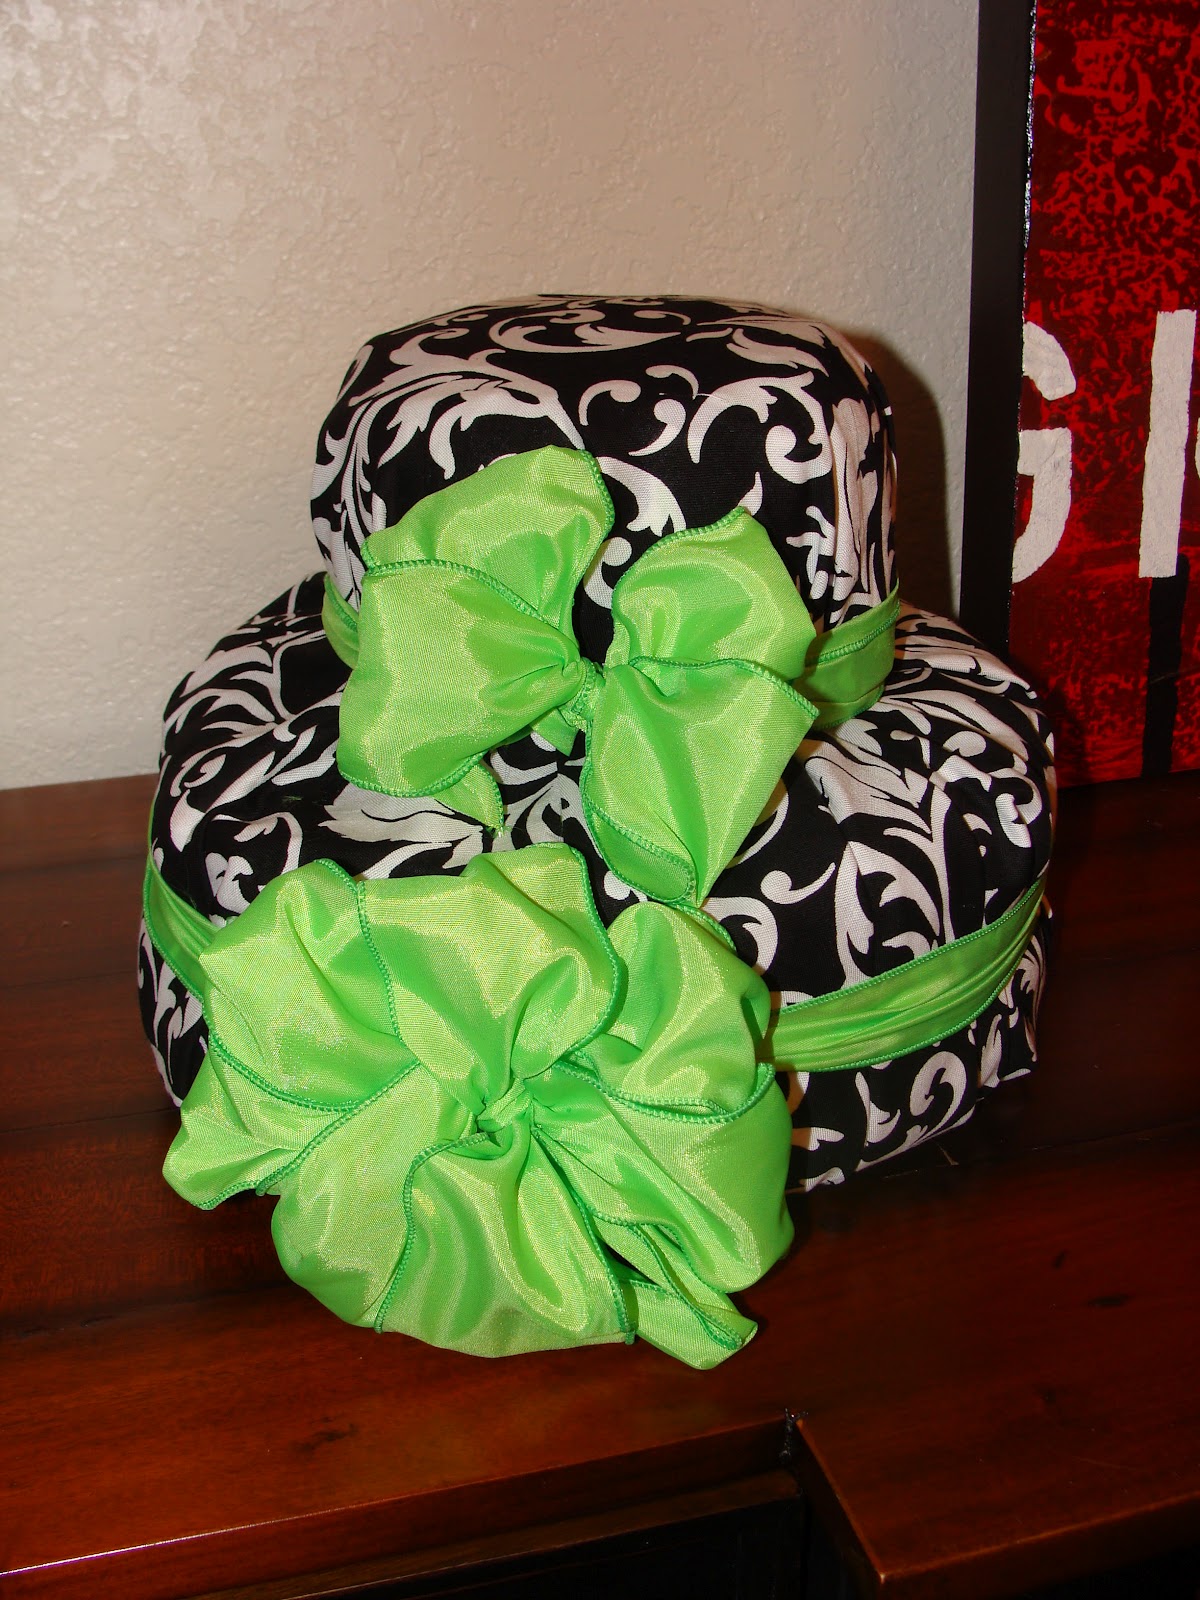
This was my first diaper cake....it was a little more challenging than I expected. While I loved how it turned out, I haven't made one since then! lol.


 Kipper and I loving on Miss Aubrey at JWC's 2011 Holiday Open House. 


We haven't seen Miss Aubrey in a while since her momma isn't in JWC anymore and we all have crazy schedules. But she will be turning 2 in June and is adorable as ever!